How to Test AC Vents for Mold Safely at Home
A musty smell that returns every time the air conditioner turns on is more than an annoyance. It can be a warning that moisture and mold may be present somewhere in the system moving air through your home or workplace. Knowing how to test AC vents for mold gives you a fast, practical way to investigate the air you breathe before a small concern becomes a larger cleanup.
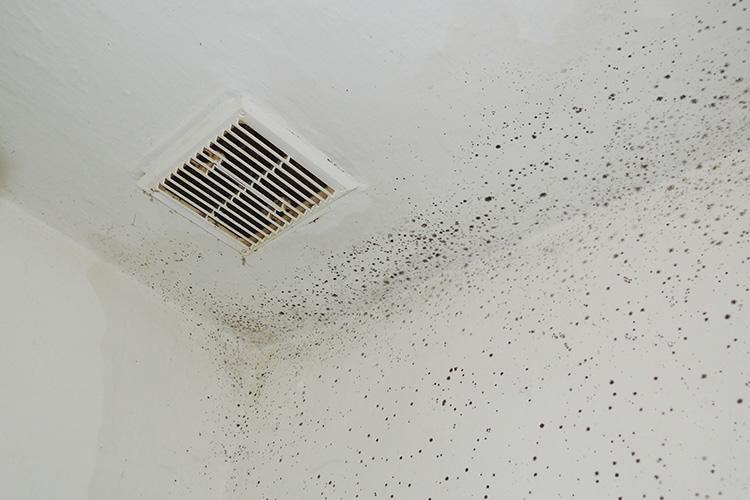
Mold can grow where condensation, dust, and organic material collect – including around vent openings, drain pans, coils, ductwork, and other damp areas of an HVAC system. You do not need to see black or green spots for a problem to exist. In many cases, odor and recurring irritation show up first.
Know the Signs That Make Testing Worthwhile
Testing is especially useful when there is a pattern. You may notice a damp, earthy, or sour odor when the AC starts, then find that it fades when the system is off. That does not prove mold is present, but it is a strong reason to check further.
Pay attention to how people feel inside the space as well. Sneezing, coughing, throat irritation, watery eyes, congestion, headaches, or allergy-like symptoms that improve away from the building can point to an indoor air concern. These symptoms have many possible causes, so they are not a diagnosis. They are a reason to take the air quality seriously.
Visible spotting around supply registers, dark streaks on vent covers, repeated condensation near vents, a past leak, or recent water damage also raise the stakes. In a business, customer complaints or employees reporting the same odor can be an early warning that should not be ignored.
How to Test AC Vents for Mold With a DIY Kit
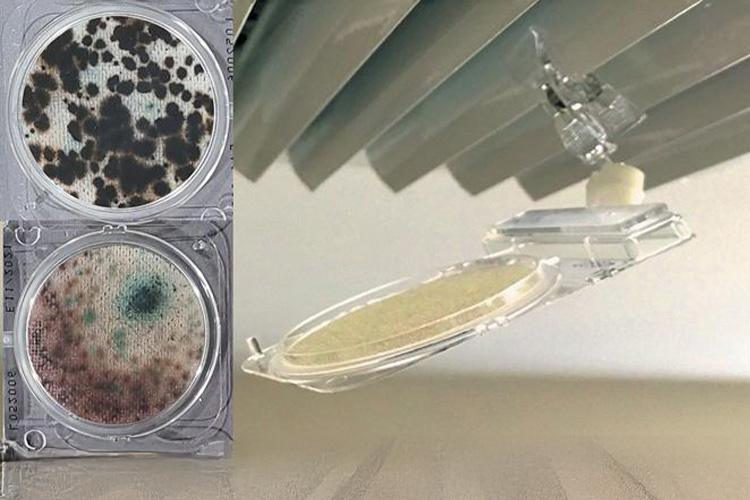
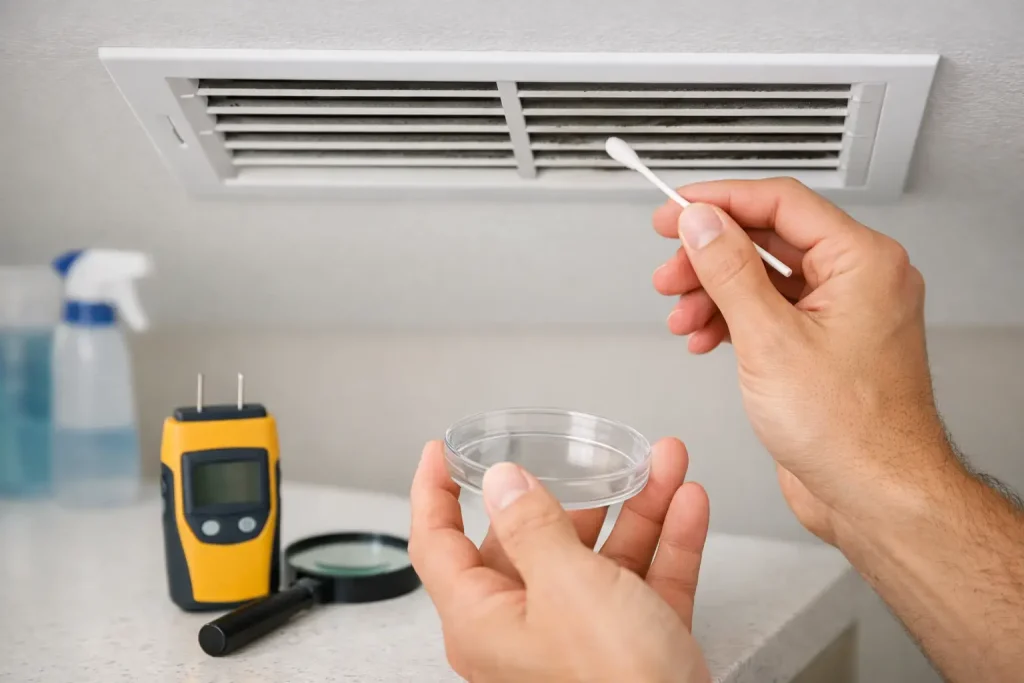
A vent-specific mold test is designed to collect a sample from the system where conditioned air exits. This can be a useful first step because it focuses on the area that may be circulating contamination into occupied rooms, rather than testing a random surface elsewhere in the home.
Before testing, choose the vents that best represent the concern. Start with a room where the odor is strongest, symptoms occur most often, or visible residue has appeared. If several rooms are affected, test more than one vent when possible. A single clean vent does not automatically rule out an issue in another branch of the system.
Follow the instructions included with your kit exactly. Clean Vent Air Solutions uses a simple clip, combine, cover process intended for homeowners, renters, and small business owners who need an accessible answer without technical training. Avoid cleaning the vent immediately before collecting the sample, since that may remove the material you are trying to evaluate.
As you test, keep the sampling area as undisturbed as possible. Do not spray air freshener, disinfectant, bleach, or mold treatment products near the vent beforehand. These products can mask odors and may affect what is collected. If you have recently had duct cleaning or HVAC service, wait until normal system use has resumed and note that work when reviewing the result.
Many DIY vent testing options provide results within 24 to 48 hours. Some also offer an optional laboratory report if you need additional validation for a landlord, property manager, contractor, or remediation decision. That combination can help you move from uncertainty to a documented next step without starting with a costly whole-home inspection.
Test More Than One Vent When the Problem Is Localized
Not every vent tells the same story. A guest room with little airflow may have a different condition than the main living area, and a vent near a bathroom, laundry room, or previous water leak deserves extra attention. Testing the most suspicious locations first is a sensible way to control costs while gathering useful information.
For renters, photos of visible staining, notes about odors, and dated test results can also make it easier to have a clear conversation with a landlord or property manager. Do not remove duct covers or attempt repairs that could violate your lease.
What a Positive Result Means – and What It Does Not
A positive vent test is a signal to investigate, not a reason to panic. It suggests mold contamination may be present in or around the HVAC system and that the source of moisture needs attention. Mold will keep returning if the underlying moisture problem remains.
The next step depends on what you find. If there is light dust or surface buildup only around a removable register, cleaning the cover safely and replacing a dirty HVAC filter may be part of the solution. If you see significant growth, smell persistent mustiness, find water damage, or get repeated positive results, contact a qualified HVAC professional or mold remediation provider. They can inspect components that are not safely accessible, such as evaporator coils, drain lines, insulation, and ducts.
Do not assume that stronger chemicals will solve the problem. Bleach and scented sprays may temporarily change the smell, but they do not correct poor drainage, high indoor humidity, leaks, or condensation. They can also create fumes that are unpleasant or unsafe in enclosed spaces.
If anyone in the building has severe respiratory symptoms, asthma that is worsening, immune system concerns, or a known mold allergy, take extra care. Seek medical guidance for health symptoms and avoid disturbing visible mold growth yourself. Testing supports informed decisions, but it does not replace medical advice or a professional assessment when conditions are serious.
Avoid Common Mistakes That Can Hide the Problem
The biggest mistake is testing after you have already cleaned, sprayed, or treated the vent. If you suspect mold, document what you see and smell first, then collect your sample according to kit directions. Another common mistake is treating a vent cover as the entire HVAC system. The register is only the opening; contamination may be located farther inside, or the issue may be related to moisture elsewhere in the home.
It also helps to rule out simple contributors. Check whether the air filter is overdue for replacement, whether supply vents are blocked by furniture, and whether the indoor humidity stays high. In many homes, a humidity range around 30% to 50% helps reduce conditions that encourage mold growth. Frequent AC drain backups, water around the indoor unit, or condensation on ducts are not normal maintenance details – they deserve prompt attention.
When to Skip DIY and Call for Help Now
A DIY test is a strong first step for an unexplained odor, mild visible residue, or recurring concerns. But some situations call for professional help immediately: extensive visible growth, active water intrusion, sewage contamination, flooding, major duct damage, or mold covering a large area. The same is true when the HVAC system is spreading a strong odor throughout the building or when vulnerable occupants are becoming ill.
Turn off the system if running it appears to spread a strong musty odor or visible particles, especially after a major water event. Then arrange an inspection so the moisture source and affected materials can be identified safely.
Clean air starts with paying attention to what your AC is telling you. If an odor, symptom pattern, or suspicious vent keeps raising questions, test early, save your results, and act on what you learn. A clear answer today can help protect your space, your property, and the people who breathe there tomorrow.