How to Sample Mold From Vents Safely at Home
A musty smell that starts every time the AC turns on is not something to ignore. Neither are dark specks around a register, recurring allergy-like irritation indoors, or a vent that seems to blow stale air. Knowing how to sample mold from vents can give you a practical first answer before a small contamination concern becomes a larger HVAC or property problem.
The goal is not to diagnose the entire building from one vent. It is to collect a clean, useful sample from the area where conditioned air enters your living or work space. A careful sample can help you decide whether to monitor the issue, schedule HVAC service, investigate moisture sources, or bring in a qualified mold professional.
Start With the Right Vent and the Right Timing
Choose a supply vent that has the strongest warning signs. Supply vents blow cooled or heated air into the room. They are usually the best place to look when you suspect something inside the AC system is being circulated through the property. Return vents pull air back into the system and can be dusty for many unrelated reasons, so they may not be the best first sampling point.
Focus on a vent near a musty odor, visible spotting, water staining, or a room where people notice symptoms more often. If several rooms are affected, start with the vent closest to the air handler or the room with the clearest signs. Do not assume that a visibly clean vent means the system is clean. Contamination can be farther inside the register boot, ductwork, evaporator area, or drain system.
Try to sample when the system has been off for at least 10 to 15 minutes. This reduces moving air while you work and makes it easier to collect from the vent surface. Turn off the thermostat rather than simply closing the vent register. Closing vents can affect system balance and does not address the source of a problem.
How to Sample Mold From Vents Without Contaminating the Test
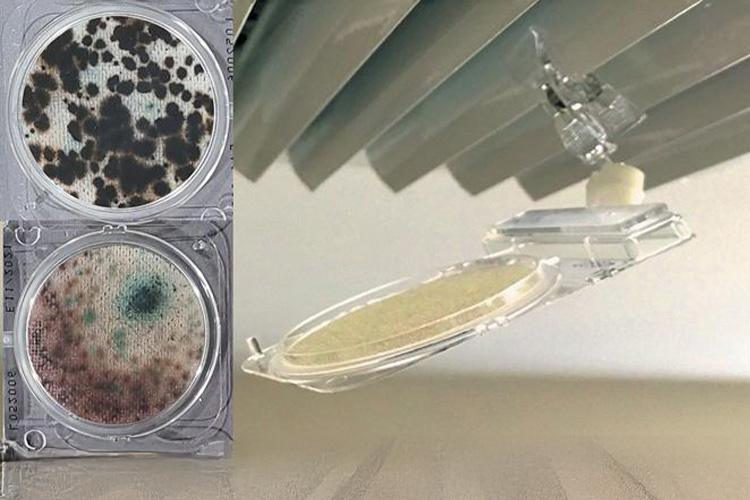
Use a test designed specifically for AC vents and follow its instructions exactly. Different kits collect samples in different ways, so the collection method matters. Clean Vent Air Solutions uses a simple clip, combine, cover process intended to make vent sampling accessible without special equipment.
Before opening the kit, wash and dry your hands. Avoid touching the collection surface, inside of the container, or any adhesive area that will hold the sample. If you are sensitive to dust or odors, wear disposable gloves and a well-fitting mask while handling the vent. Keep children and pets away from the area until you are finished.
Open the register only if it can be done easily and safely. Many vent covers lift out with a screwdriver, but do not force a cover, reach into a duct, or disturb insulation. You are collecting a targeted sample, not performing a duct inspection.
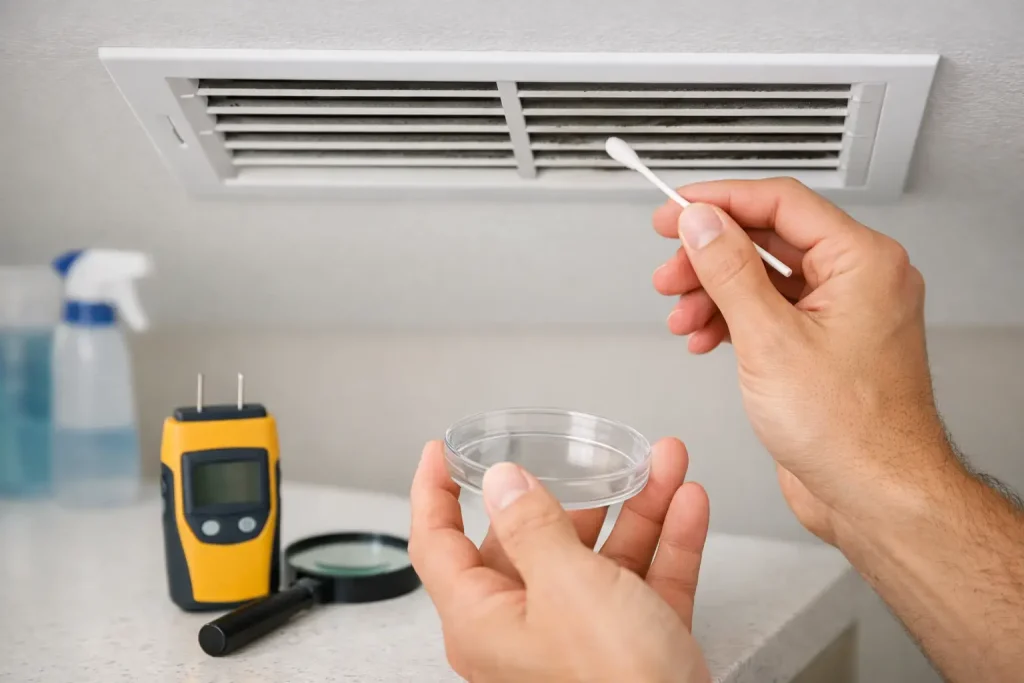
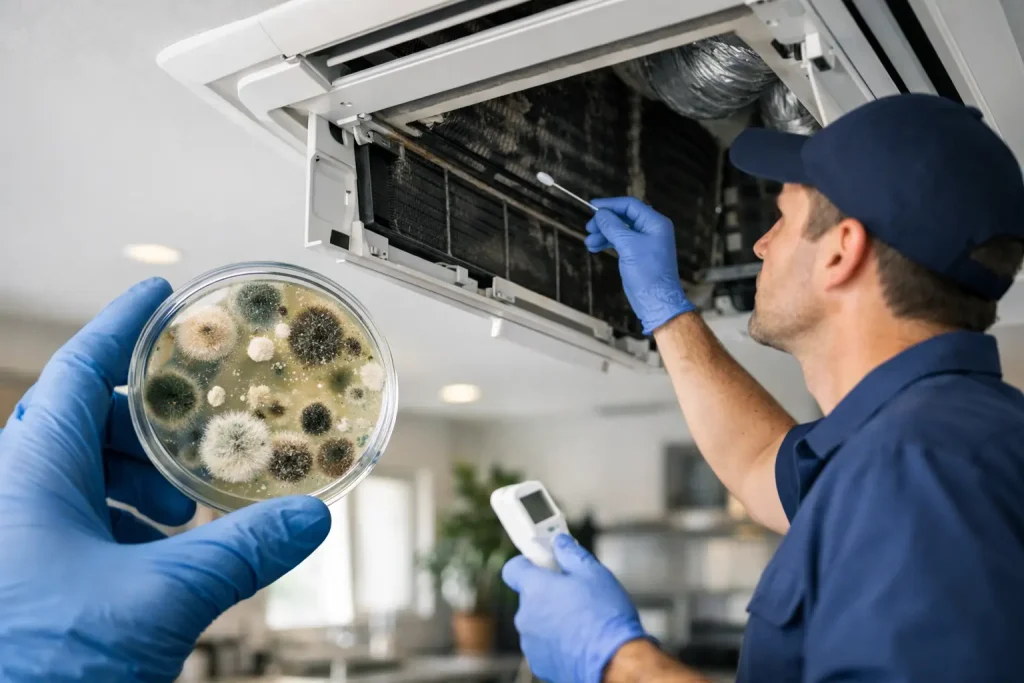
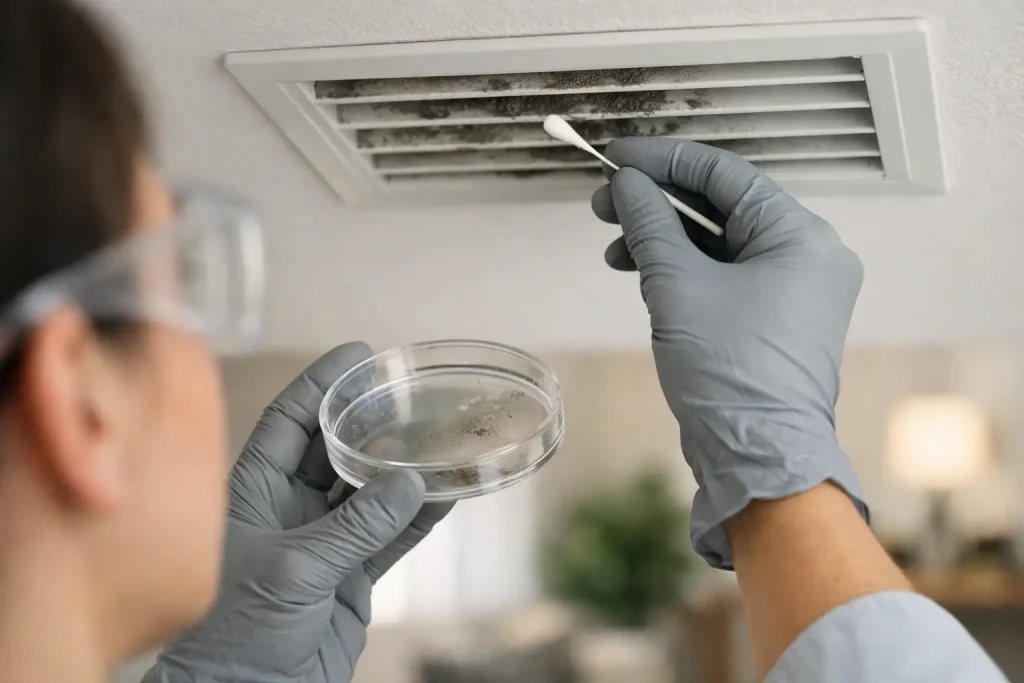
Place the sampler where the kit directs you to collect. This may be just inside the supply vent, along the interior edge of the register, or on a suspected visible area. Make firm, controlled contact according to the kit instructions. The best sample comes from the vent area itself, not from a random household surface nearby.
Then secure the sample immediately. Do not set it down on a counter, carry it through the house uncovered, or touch the sample area after collection. Follow the kit directions for combining the sample medium and covering or sealing it. Label it with the location and date if the kit provides a place to do so. Details such as “upstairs bedroom supply vent” are far more useful than “vent.”
Once the sample is secured, replace the vent cover and wash your hands. Keep the sample in the recommended location while it develops or until it is sent for any optional lab analysis.
What a Good Vent Sample Looks Like
A good sample is not necessarily one with a visible dark patch. It is a sample collected from the correct area without adding outside contamination. That means avoiding contact with your fingers, countertops, cleaning cloths, or other vents.
It also helps to avoid sampling immediately after you have vacuumed, dusted, sprayed an air freshener, or cleaned the register with a chemical product. Those steps can disturb particles or leave residue that makes results harder to interpret. If you recently cleaned the vent, wait until you can sample a different affected location or until there is a renewed reason for concern.
If you see a large amount of visible growth, damp insulation, standing water, or heavy debris inside the vent, do not scrape or brush it. Disturbing material can release particles into the room and may spread contamination. Take a photo for your records, avoid running the system if the situation appears severe, and contact an HVAC or mold professional for the next step.
Common Sampling Mistakes That Can Mislead You
A vent test is most helpful when it is treated as a focused screening tool. These common mistakes can reduce its value:
- Sampling only the outer grille when the concern is farther inside the supply vent.
- Touching the collection material or leaving it exposed before sealing it.
- Testing after heavy cleaning, spraying, or other activity that can alter the area.
- Collecting from a vent while the fan is actively blowing air.
- Treating one result as proof that every room or every part of the HVAC system has the same condition.
Dust alone is common in HVAC systems, especially around registers. Mold concerns become more likely when dust is paired with moisture, odor, recurring spotting, or health-related complaints that improve when people leave the building. Even then, a test result should guide your next decision, not replace a full evaluation when there is an active water problem or extensive visible contamination.
When You Should Test More Than One Vent
One sample can be enough for a first check if one room has a clear, isolated issue. Testing more than one location makes sense when odors travel through several rooms, multiple supply vents show similar spotting, or occupants report discomfort in different parts of the home or workplace.
For a more useful comparison, sample an affected vent and a vent in a room with no odor or visible concern. Record where each sample came from. If the affected location produces a different result, that can help narrow the investigation. If multiple vents raise concerns, the source may be within the shared HVAC system rather than a single room.
For renters, document the date, location, odor, visible conditions, and any leaks before notifying the property manager. For small business operators, keep the same basic record and note which rooms, work areas, or operating hours are affected. Clear documentation supports a faster conversation with maintenance, an HVAC contractor, or a remediation provider.
What to Do After You Collect the Sample
Follow the result timeline and reading instructions provided with your test. Do not guess based on color alone if the kit requires a specific waiting period or an optional lab report for confirmation. If your result suggests mold, resist the urge to cover the smell with fragrance or simply wipe the vent and move on.
The next question is where moisture is coming from. Common HVAC-related causes include a clogged condensate drain, poor drainage around the air handler, a dirty evaporator coil, damaged duct insulation, duct leaks, or humidity that stays too high indoors. Cleaning a register may improve its appearance, but it will not correct moisture inside the system.
Arrange HVAC service promptly if you have a positive test along with musty odors, visible growth, water damage, weak airflow, or repeated condensation. A qualified technician can inspect components that are not safe or practical to access yourself. If contamination is widespread, there has been flooding, or people are experiencing significant breathing symptoms, seek professional mold assessment and medical guidance as appropriate.
A clean vent should support the comfort of the people under your roof, not leave them wondering what is moving through the air. Taking one careful sample is a small, direct action that can bring clarity and help you protect your space before the problem has more time to grow.